I have a friend who recently retired... I mean, she really retired!! She didn't leave her job and go find a new one at McDonald's or Walmart... She's spending her days gardening, volunteering, and being crafty!! Now THAT'S the way to do it!! :)

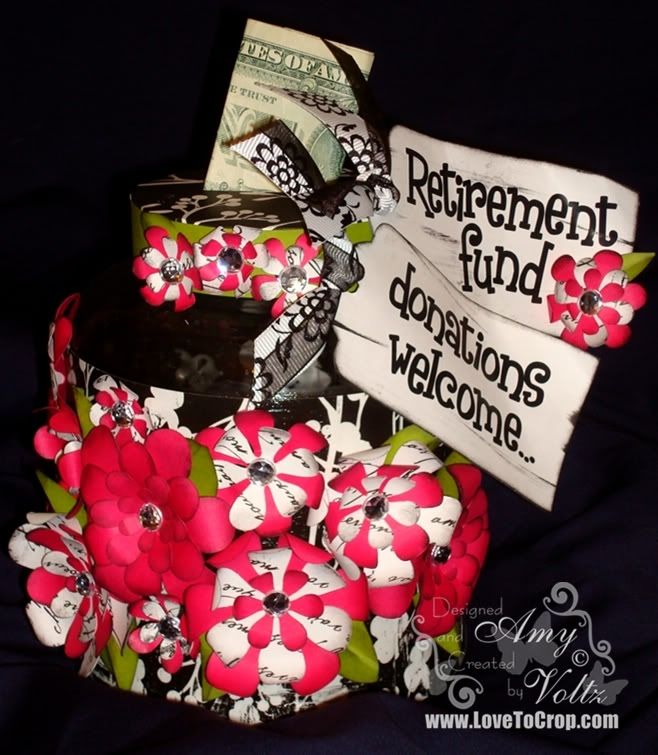
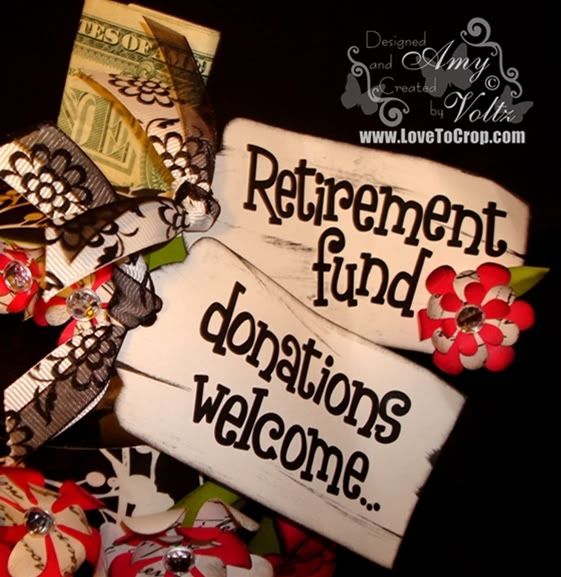
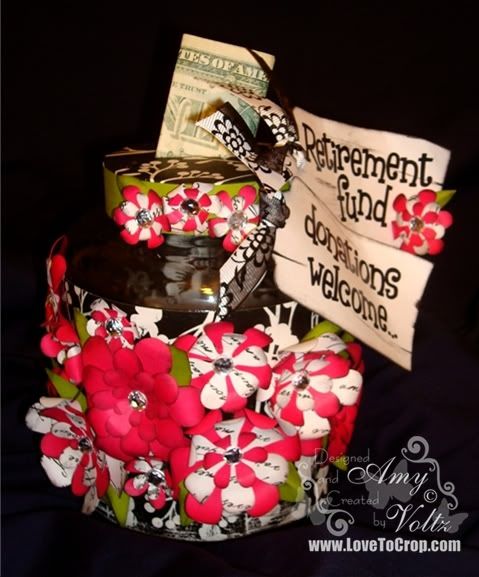
So I got to thinking about what kinds of things you would use to decorate at a Retirement Party... It's a celebration, right? And we all want to decorate our celebrations, right? And when ya retire there are quite a few jokes out there about having twice as much time and half the money, right? And so I thought that creating a bank for the retirement fun(d) might be a good plan!! :) For this project I decided to do a little recycling and reusing... The-Girl-Child likes her pickles in BULK, so I found this wonderful jar that is rather large, but has a smaller opening (made it tough to pull the pickles out easily, but it's perfect reconditioned as a bank!!). With the little tag reminding guests to donate for the cause, I thought it would be perfect at the entrance to the Retirement Party (or maybe you want one on every table!!). :)

To create my bank, I started by removing all of the labels with Goo Gone. The factory info and expiration date were ink stamped onto the jar, but a touch of nail polish remover erased all residue and left the jar as good as new. :) I cut two strips of 4x8 decorative cardstock and used Modge Podge to adhere the strips to the jar. I've reused jars like this in the past (
click here to see the Halloween jar I made last year) and I've found that adhering the paper strip with Modge Podge creates a much better base for adding embellishments -- plus the wrapping doesn't pop off -- which is extremely inconvenient if you're using it as a gift and it does this IN the gift bag just before the recipient pulls a plain jar out... How embarrassing! :)
I wanted to put a slit in the lid for the money 'donations' so I created a paper lid rather than using the metal lid (which would have required a visit to my dad and his workshop to drill through that lid -- let's just say that power tools and I are not a good mix!)... If you need directions on how to make a paper lid for one of your jars, please feel free to ask (I'll be happy to do a tutorial at some point or email you the directions)...

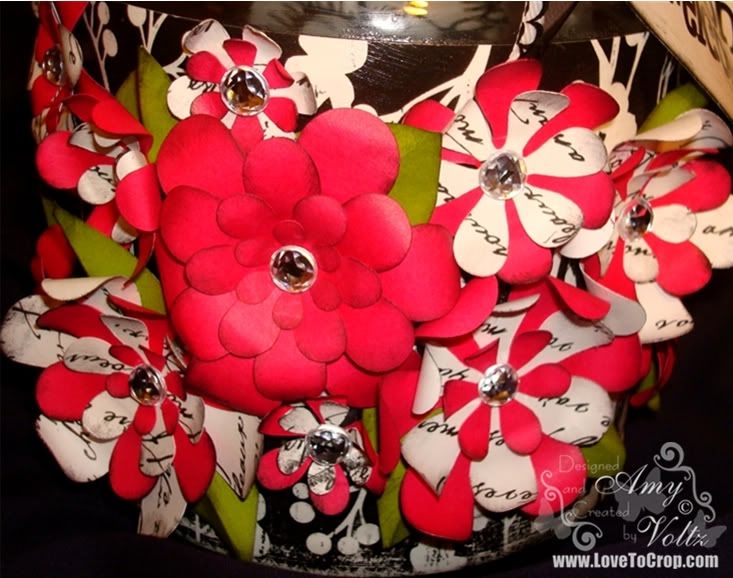
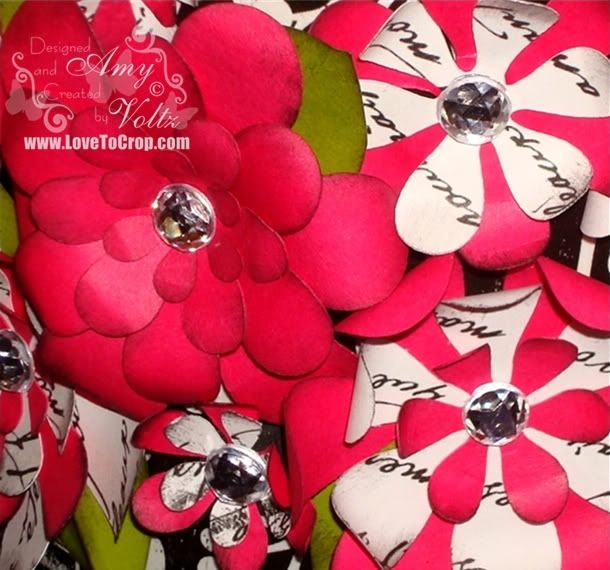
My flowers were cut using the Accent Essentials Cricut Cartridge (remember that one you got with your Expression???). I cut a series of flowers ranging in size from 3/4" to 2 1/4" (at 1/4" increments), inked the edges, curled the edges with my bone folder, and layered them for different effects... Keep in mind that every flower is exactly the same, just cut in another size/color and curled out or under depending on the look I was going for... If you haven't tried creating any of these layered flowers yet, I hope you'll try some... I often cut lots of extras so that I have quick and easy embellishments on hand to add to a card or tag. :)
My tags were distressed with ink and curled with my bone folder... The letters are stickers -- I collected a stack of alphabet stickers before I got my Cricut... Now my stack of alphabet stickers has been collecting dust!! So I'm on a mission to use my stickers whenever I have the chance :)
Your comments and questions are welcomed and appreciated... Remember that when you leave a comment on this post, you earn an EXTRA chance in our Grand Announcement Giveaway!! Also, there is still time to link up your party projects under the Grand Announcement Post (
CLICK HERE)... Whether you have made cakes, cookies, cupcakes, banners, signs, table decorations, party favors, shower invitations, pinatas (did you see
Rhonda's pinata???), or any other party related decoration, we want you to link it up and show us what you've got!! We're still looking for a few guest designers, so please show us your style!! :)
Thanks so much for joining me today...
Very cute idea:)http://visionsofpaper.blogspot.com/
ReplyDeleteWhat a cute idea! and smart! have to put this in my book of ideas for the future for an event like this...thanks for sharing! :)
ReplyDeleteIt just dawned on me that you are the Amy who is partnering with Rhonda on this blog. I will have to go back to my post and add a link to your regular blog now....LOL...here's the post and sorry I didn't catch that before.
ReplyDeleteSmilez,
Jessica
http://jessicascraftshaque.blogspot.com/2011/05/mondays-dont-have-to-be-mundanesmile.html
great idea for retirement!
ReplyDeletejonder@frontier.com
http://julianaspapercrafts.blogspot.com/
What a great idea.
ReplyDeleteSo adorable, I love, love the flowers and the colors you chose! That is the ONLY way to retire! I just hope that is me!!!
ReplyDeleteLaurie
lbaires@comcast.net
Love it! It is so bright and fun! TFS
ReplyDeleteTara
thecreativeprincess(at)hotmail(dot)com
P.S. you are not the only one with piles of stickers collecting dust lol
Such a cute and thoughtful project! Love the gorgeous flowers!
ReplyDeleteGlenda
This is simply beautiful! Love the flowers!
ReplyDelete