Hello to all of my creative friends!! I just wanted to thank you -- We are so FORTUNATE here at
Decorate To Celebrate! to have so many wonderful friends who have already chosen to become followers!! However, WE NEED YOUR HELP!!
Rhonda and
I would love to start our first challenge with 100 followers -- and we're SO close now... Would you be willing to invite a few friends over to visit us here today? If you know someone who loves to make party favors or decorations or cakes, please invite them to share one of their projects in our
Grand Announcement Link-Up... We'd love to see what everyone has made (they can re-post a previous project -- it doesn't have to be a new creation for our Grand Announcement Link-Up!! Plus, we're still looking for a few
Guest Designers for some upcoming challenges!!)
We're offering some incredible BONUS chances when you refer a friend; share a link on facebook, twitter, or your blog; and visit some of the entries in the
Grand-Announcement Link-Up!! :) In addition (and in case you didn't hear), Rhonda is making one of her FABULOUS mini albums for one lucky winner when we reach our goal of 100 followers by May 31st!! Isn't that AWESOME??? So, we'd like to say THANK YOU in advance for sharing and helping us reach our goal!! :)
Now... onto my party favor project for you!!
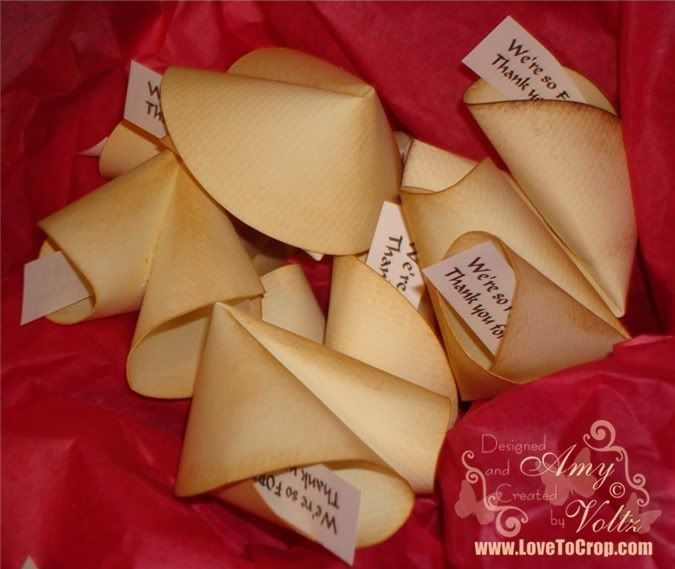
I first saw paper fortune cookies like these a few years ago at a craft fair -- I loved them so much that I remember buying several of them for about $1 each... They had lovely little tags inside that had messages of friendship so I had passed them on to a few friends hoping they would enjoy them as much as I did. I haven't thought about those little fortune cookies much since then until just the other day when I was thinking about cute party favors that are quick to make. The ones that I had purchased were made with bright patterned paper, but I wanted to try to make mine look as 'realistic' as possible...
Of course I did not keep one of those fortune cookies that I purchased so long ago for myself, so I spent some time playing with the paper (and eating a lot of REAL fortune cookies to see how they looked!!) to get the folds right...
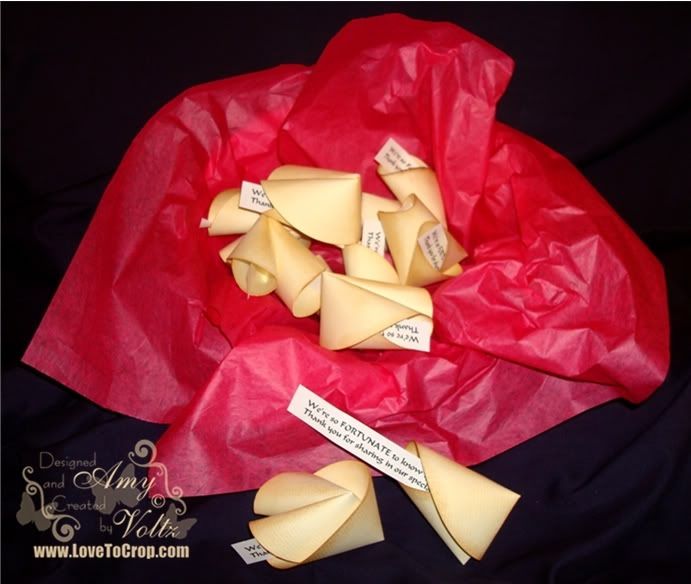
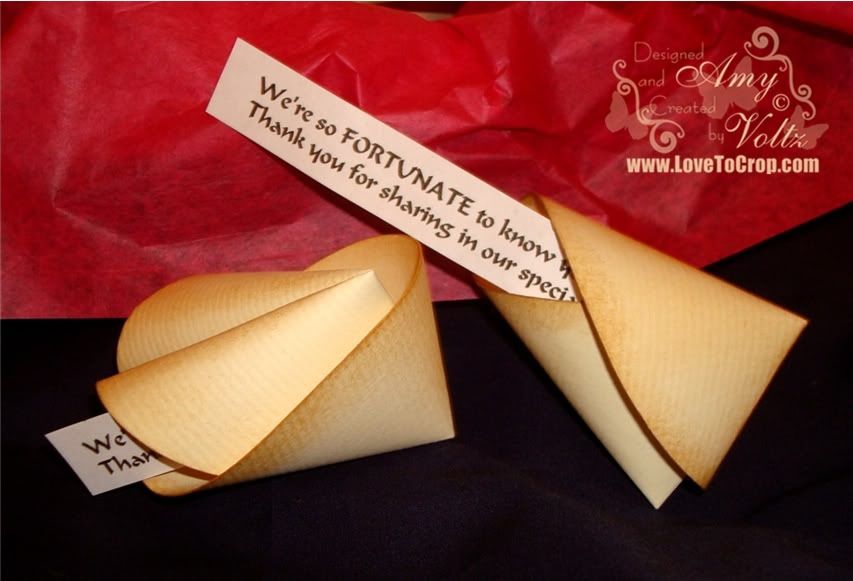
These little favors are perfect for so many occasions -- Graduation parties, birthday parties, weddings, and showers!! My fortune slips read: "We're so FORTUNATE to know you... Thank you for sharing in our special event!!"
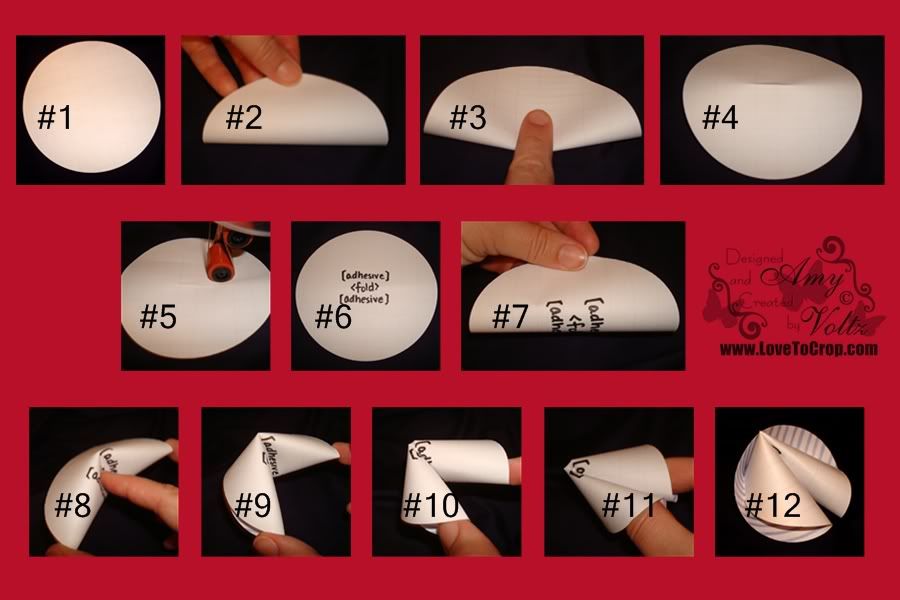
To make these darling calorie-free favors for your next celebration:
- Cut the circles from ivory cardstock at 4.25" (I used my George Cricut Cartridge; however, any cartridge with a plain circle will work. I tried with smaller circles, but I couldn't get it to fold correctly). Ink the edges of the circles with SU! Creamy Caramel ink (optional).
- Start to fold each circle in half...
- ONLY pinch the center of the fold (so there is a crease at the center of the circle)...
- Lay it flat again.
- Use STRONG adhesive (I used my ATG gun)...
- Apply adhesive on both sides of the crease (about 2" in length of adhesive).
- Bring the two edges (opposite of the way you folded in #2) of the circle towards each other and...
- Gently push that pinched crease in...
- So that it will collapse the rounded tube-like center of the circle...
- Continue bringing the edges back towards each other and...
- Press the adhesive firmly to hold the edges together.
- Voila!! You have a paper fortune cookie!! If you would like to add a fortune to the inside, cut your fortunes into strips and add a strip inside the fold at step #7.

I hope you have enjoyed seeing my fortune cookies today -- And I hope you'll try some of these for yourself!! Be sure to let me know if you do -- I'd love to stop over and see yours!! :)
Remember -- Our first official challenge begins NEXT WEDNESDAY (June 1st) at 8am with a "Father's Day Party" theme... Whether you make treat bags, centerpieces, banners, gift bags, invitations, cupcakes, or any other party-related project, we want YOU to link up and get noticed!! So celebrate Dad and Decorate To Celebrate! with us!!
Thanks so much for joining me today!! Until next time...

Those look so real, it wan't until i read the post that i realized that we fake!! great job
ReplyDeletesierrababy08 at hotmail dot com
Wow these are just adorable!! They do look real!! Fantastic, very creative!!
ReplyDeleteLaurie
So cute! Love this idea
ReplyDeleteSmiles Sher
These are so neat!!! and TFS the tutorial! -Sam :-)
ReplyDeleteWhat a great idea...I may need to make some of these for my candy buffet table at my wedding! TFS and great tutorial
ReplyDeleteTara
thecreativeprincess(at)hotmail(dot)com
These look so realistic! Great job!Thanks for sharing the instructions!
ReplyDeleteGlenda
These are so creative and FABULOUS!!!! Thank you for sharing how to make them!!!
ReplyDeleteThese are fabulous! I plan to make some for my birthday favors!
ReplyDelete